
How to Replace RV Slide Topper Awning Fabric
Well, this was upsetting. The wind caught our awning and ripped the fabric.....likely because it was so old and brittle. But, still...upsetting.
So, we ordered new fabric and this is how we did the install.....By the way, when measuring for new fabric, the fabric lengths are center to center, arm to arm.
This is for a slide topper awning compatible with Carefree, Carter, & A&E awnings.
We decided to prop the awning arms up at about chest level to make it easier to replace the fabric.

As you unroll the awning fabric, note the number of times you turn the torsion assembly to relieve the tension. The spring’s tension is exact and will need to be set to this exact point during reinstallation. In our case, the awning fabric had ripped off, so we guessed 11 times. Keep in mind that unrolling the fabric tightens the spring and rolling it up releases it.
Hardware will need to be removed only from the side that you will be inserting the awning fabric from. The rivets (example shown below) have to be removed...

...as well as the awning bracket.


When the rivets are removed, the torsion assembly can be pulled apart as shown below. The cord can be pulled out as well as...

...the existing awning fabric. Keep in mind that the fabric will be reinserted in much the same way as it is removed.

The next step requires the help of an assistant. In fact, the help of 4 people would have been ideal, but we accomplished the task with just the two of us. The vinyl awning fabric came with a cord installed on the bottom and top. First, feed the cord and fabric into the top rail about 1 foot.

Then feed the cord and fabric into the track on the torsion assembly.

This is where more people comes in handy as you feed the fabric into the track and keep guiding it down the rail.

The top and bottom need to be fed together.

When the fabric has been fed completely onto the track, the bracket and screw can be reinstalled.

The torsion assembly has a second track. The fabric has to be carefully folded into this track and then a cord inserted into the track. This is tricky. You have to be careful not to rip the fabric. We used a pin punch to glide the cord down the track. We also sprayed WD40 on the fabric to make it easier to slide the cord down the track.

We used the blunt edge of a bondo applicator to fold the fabric down the track.

There was an existing stopper piece that we reinserted over the cord before pushing the torsion assembly back into place.

The existing rivets were old/worn, so we used sheet metal screws to hold everything in place.


Carefully roll the awning up into place.

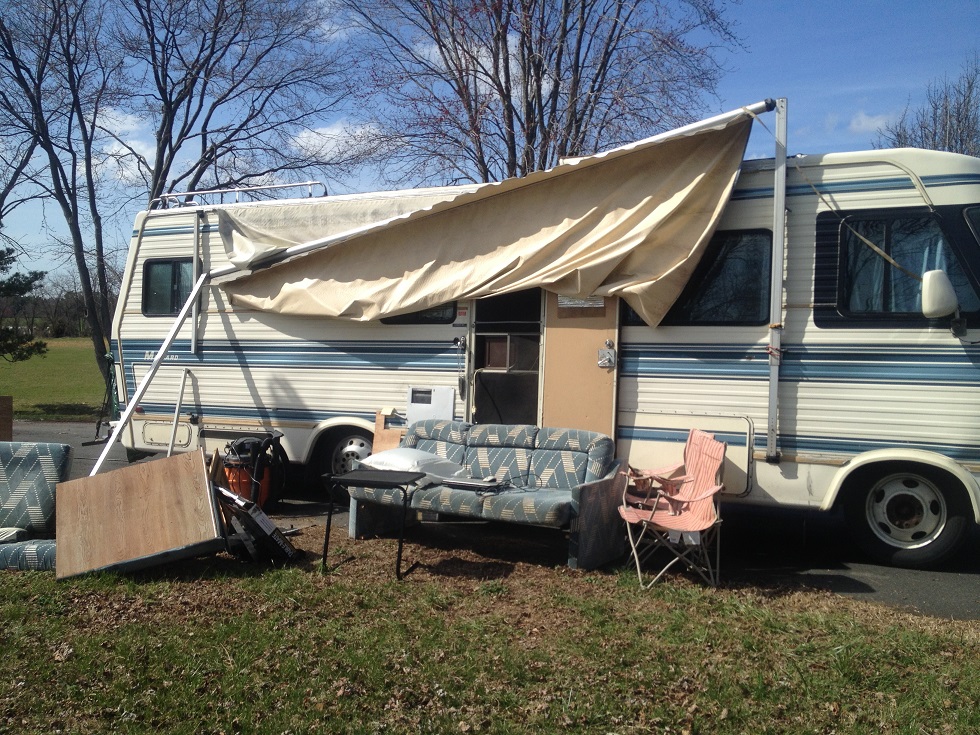
The following are pictures of the awning fully extended. We are very happy with this vinyl fabric. It is also working well in the rain.


Yay!! All finished.
So, we ordered new fabric and this is how we did the install.....By the way, when measuring for new fabric, the fabric lengths are center to center, arm to arm.
This is for a slide topper awning compatible with Carefree, Carter, & A&E awnings.
We decided to prop the awning arms up at about chest level to make it easier to replace the fabric.

As you unroll the awning fabric, note the number of times you turn the torsion assembly to relieve the tension. The spring’s tension is exact and will need to be set to this exact point during reinstallation. In our case, the awning fabric had ripped off, so we guessed 11 times. Keep in mind that unrolling the fabric tightens the spring and rolling it up releases it.
Hardware will need to be removed only from the side that you will be inserting the awning fabric from. The rivets (example shown below) have to be removed...

...as well as the awning bracket.

There was also a screw down the track from the bracket that needed to be removed. It actually had to be drilled out.


...the existing awning fabric. Keep in mind that the fabric will be reinserted in much the same way as it is removed.


Then feed the cord and fabric into the track on the torsion assembly.

This is where more people comes in handy as you feed the fabric into the track and keep guiding it down the rail.

The top and bottom need to be fed together.

When the fabric has been fed completely onto the track, the bracket and screw can be reinstalled.

The torsion assembly has a second track. The fabric has to be carefully folded into this track and then a cord inserted into the track. This is tricky. You have to be careful not to rip the fabric. We used a pin punch to glide the cord down the track. We also sprayed WD40 on the fabric to make it easier to slide the cord down the track.

We used the blunt edge of a bondo applicator to fold the fabric down the track.

There was an existing stopper piece that we reinserted over the cord before pushing the torsion assembly back into place.

The existing rivets were old/worn, so we used sheet metal screws to hold everything in place.


Carefully roll the awning up into place.

The following are pictures of the awning fully extended. We are very happy with this vinyl fabric. It is also working well in the rain.


Yay!! All finished.
 |
| My mom & Chad |
Related Posts
How to connect an RV gas/electric hot water heater to AC power
How to repair exterior damage to a RV
How to Install New Light Fixtures in an RV
How top Install an AC LED Flushmount Light Fixture in an RV


