Showing posts with label RV Maintenance Work. Show all posts

Saturday, December 13, 2014

Another LED light replacement in the RV

We have been really satisfied with the first LED light we ordered. We bought those before we moved in.  However, the double light fixture that this company makes have two switches to turn the light fixtures on.  That would just be aggravating.  So, we chose a different light fixture .  This one was more expensive.  But, we figured you get what you pay for, right?  Well....maybe.  Anyway, we bought two of them.  We put one over the kitchen sink and one in the bedroom.  When it arrived, Chad said he could tell it was a really good fixture. I had noticed that some of the reviews mentioned the light dimming over time.  But, that was a while ago.  So, I hoped that the company had fixed that problem by now.  Apparently, they haven't.  Less than a month later, the LED bulbs really began to go dim in the fixture installed in the bedroom. 

So, we chose to send that one back to Amazon .  And, we bought a new light fixture . This one was half the price because we bought it on sale.  And, it's a warmer white, which we do like better.

You can actually see how dim the first light got in these pictures.  Will keep ya'll "posted" on how it goes with the new light.  So far, so good...  

The light fixture that we installed in the kitchen is just starting to go dim on one side.  So, we will be sending that one back to Amazon too.

Previous light fixture


Our new light fixture
Click here to see how to install an RV light fixture.

Here's the new light...

Lumitronics Warm White Double LED RV Dome Light with On/Off Switch and Removeable Lenses. Perfect Replacement 12V Light for RVs, Motorhomes, Campers, 5th Wheels, Trailers

Monday, December 8, 2014

Roof Leak is back

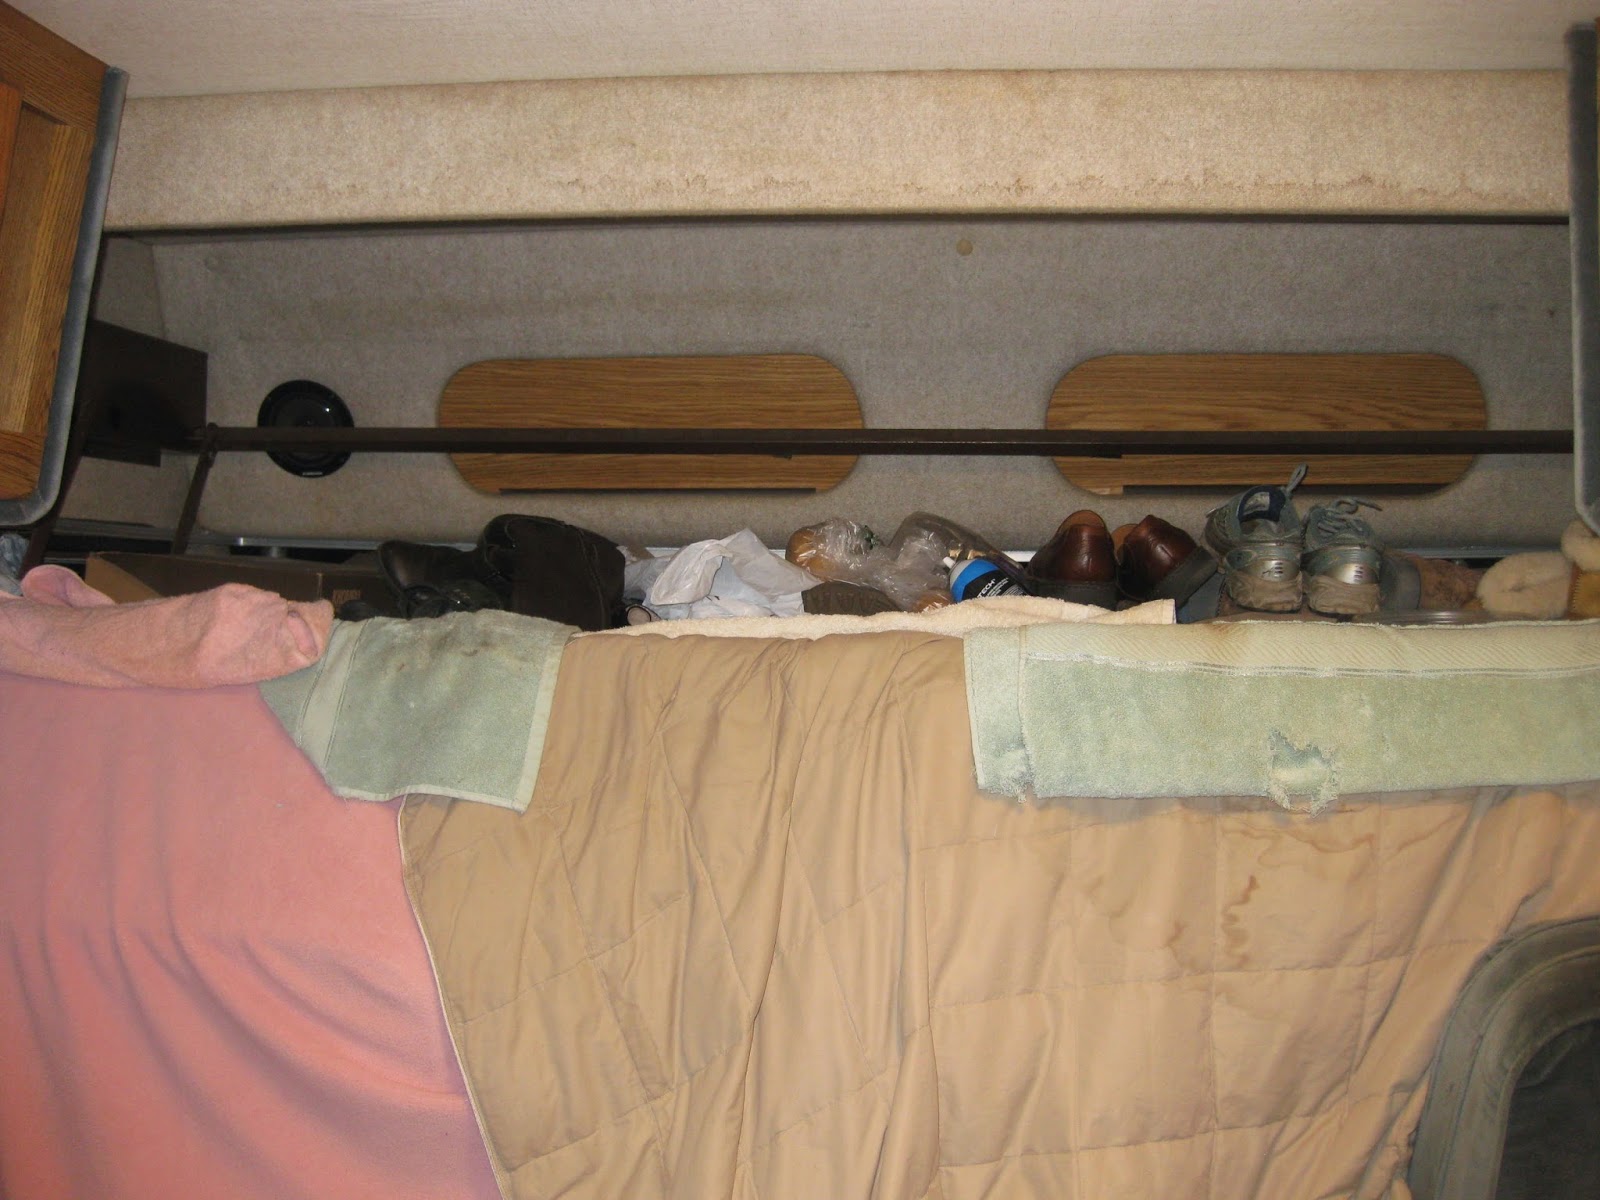
We got slammed with so much rain Friday evening and continued all day Saturday.  And, unfortunately, the roof leak is back above the driver's area.  This time it was worse than the last time, it was dripping in at least two distinct spots.  We used towels to absorb all the water.  So, today Chad used white silicone again to try to seal up the leak. Unfortunately, he couldn't find any indication on the RV roof of any area that could be leaking.  So, he put white silicone along the whole seam in that area of the roof.


In the picture you can see the water spots the leak created.  The blankets are there because we created a blanket fort with them to create a weather seal to keep the cold out that pours in off the windows in the front of the RV.  (More about that later.)

By the way, the first roof leak we found is definitely not leaking.  So, that's good news.

Monday, December 1, 2014

Snow melting revealed another roof leak in the RV

Yesterday, the weather warmed up and the snow on the RV's roof started melting.  Some of it broke off in big chunks and made some loud noises which startled me during the night.  By the way, the night before it snowed, there were animals, which we think were squirrels, running back and forth across the roof at around 4 a.m.  It sounded like they were trying to break in, but of course, they were not.  It was just weird.

Anyway, we noticed lots of dripping in the ceiling above where the driver sits.  You can see the spots from the water in this picture. 


Chad examined the roof in this area and found a tiny hole.  So, he put silicone on it.  Hopefully, it won't leak again, but we'll find out for sure the next time it snows lol. 

We still have snow on the ground, but not sure for how long.  Although....they are calling for possible snow showers tomorrow, so we will keep you all "posted" on that.  :-)

Saturday, November 8, 2014

How to grease wheel bearings

Chad has been doing more maintenance work on the RV.  Today he greased the front wheel bearings.  This is important to do every 6 years or 50,000 miles.  It would be the same for a truck as well.  It's usually recommended for trailers to have them done more often, every 10-15,000 miles.  If you don't maintain this, the wheel could fall off.

Here's how to grease wheel bearings....

First, remove the wheel .  


Remove the brake caliper.

Remove the hub.
 

The wheel bearings are inside the hub.  The grease goes inside.

The old grease here is clumpy.  It is in dire need of being replaced.

Remove the seal.


The old oil is clumpy.
 Remove the bearings.


Clean the old grease off the bearings using gas or similar solvent.

The cleaned bearings


 Inspect bearings for signs of damage. Replace if needed.
Pack the cleaned bearings with new grease back inside the hub and add new grease inside.


Replace the old seal with a new seal.


Replace the brake caliper and wheel hub.
Torque the hub nut to 25 foot pounds. This puts a preload on the bearings. Undo the castle nut until you can put the cotter pin in. Check your end play. The assembly should spin freely.


Replace the wheel.

Wednesday, November 5, 2014

How to Install New Light fixtures in an RV


We had some issues with the RV light fixtures that we bought a couple months ago.  We bought several of the Camco 41320 12V Double Dome Light Replacement fixtures.  But, we noticed that the bulbs tend to get too hot and melt the plastic cover as seen here...
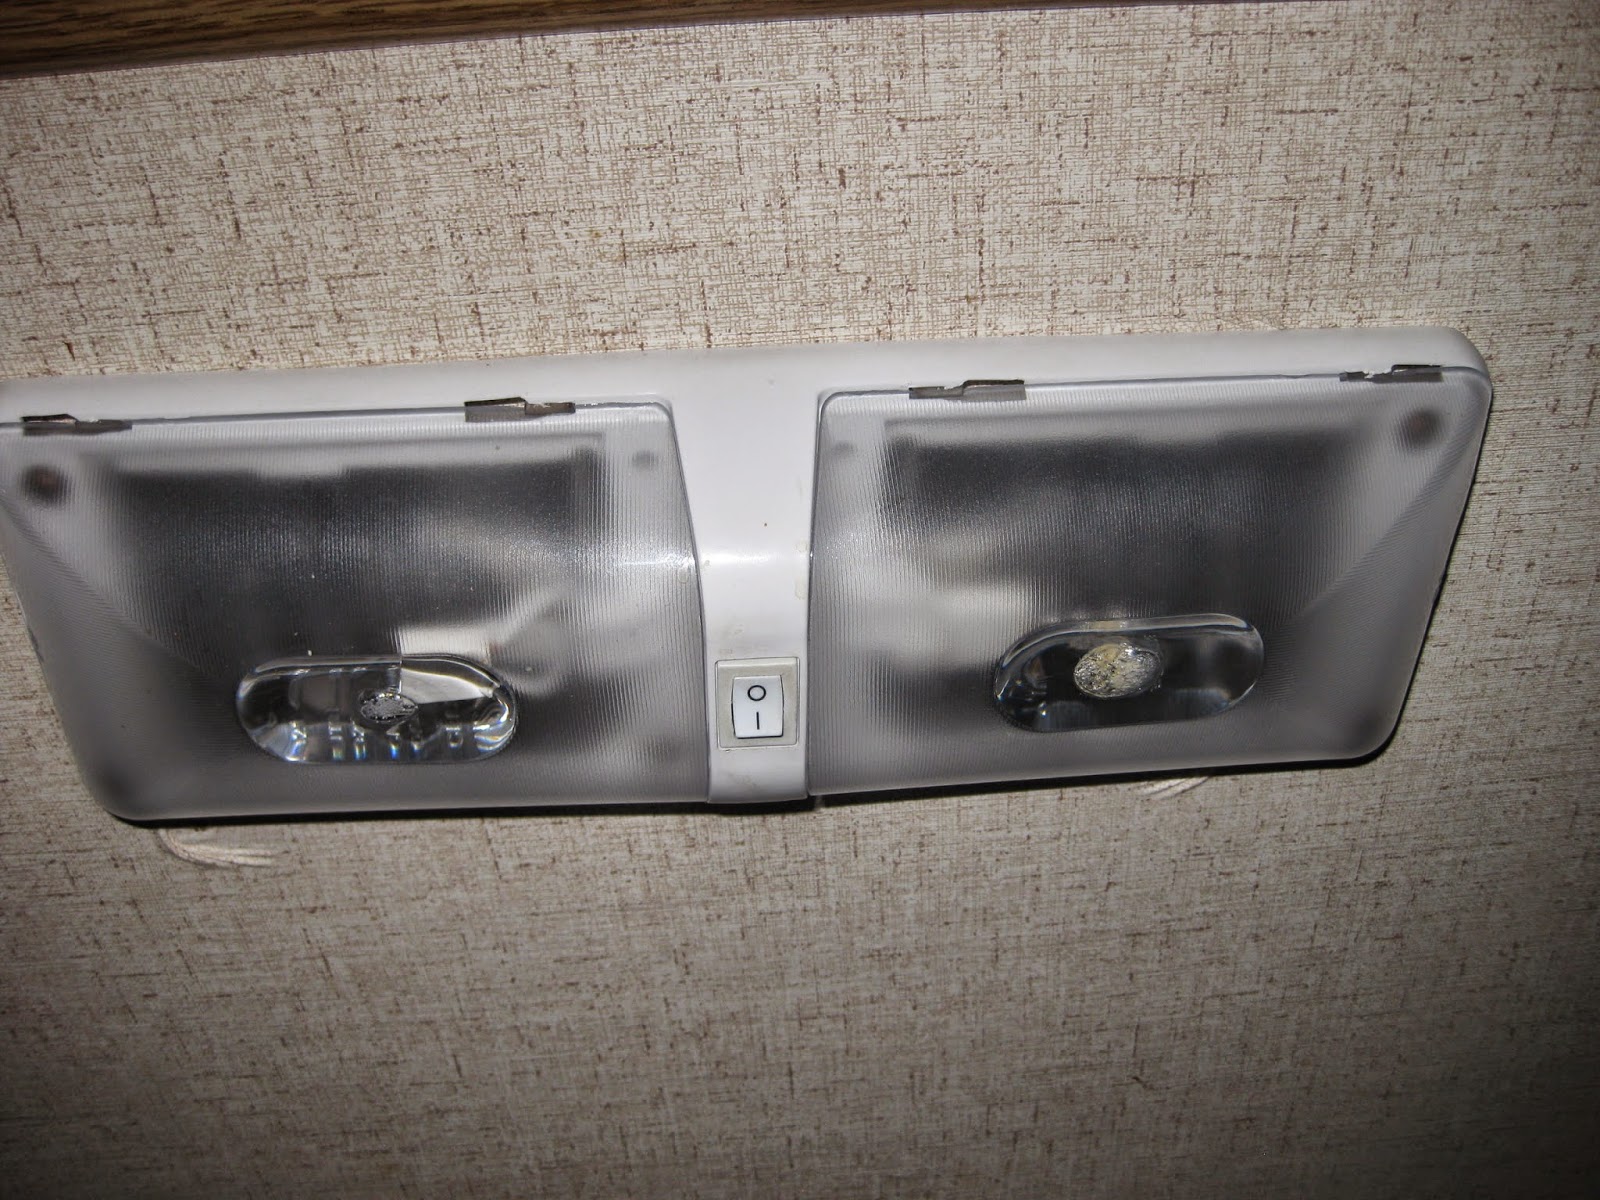
And, then, the switch blew out and quit working altogether on the fixture we had over the kitchen sink.  I supposed these fixtures are just not durable enough for everyday use.  So...we decided to replace them with new LED fixtures .  These will use less electricity too.  We just installed them today.  They are very good quality and are bright.  Will keep you all posted, though, if we run into any issues with them.

Here's how to install new RV light fixtures...

Remove the plastic cover and screws

Pull off the wire nuts and disconnect the wires.
 
Twist together the new wires.  Connect positive with positive (white) and negative with negative (usually black).

Add the wire nuts.

Screw the new fixture into place.

Add the plastic covers.
   Diamond Group 52430 White Double Led Dome Light

Update - The Diamond Group Light Fixture didn't work out so well for us - the LEDs burned out really fast, click here to see the new fixture we are happy with.


Saturday, October 18, 2014

Today's RV location

Today our RV life takes us to yet another location.  lol  This is our fourth spot on this property so far.  Here we have full power & wifi, but no sewer or water.  But, we don't have to go far, just about 500 ft., to sewer & water.  We moved again because the forecast is calling for snow tonight!  Can you believe it?!  In this spot we can use our electric heaters if we need to.
Today's Spot
Here is where we boondocked (a.k.a. dry camping - refers to camping without hookups) last night.  It was quite the beautiful view to wake up to this morning.


    Last night, Chad checked out the brakes and added brake fluid.  Today we took the RV for a test drive and the brakes are working fine now.  We will just have to check the fluid levels more frequently.

    And, this is interesting - we tried out our internal propane tank again today.  The burners on the stove lit.  So, we do still have propane in the big tank.  We are not exactly sure what's up with that.  So, for now, we are connected to the internal tank....will see how long it lasts.

   Today we also entertained our first guest in the RV with a cup of tea.  My cousin, who lives in the area, came by to visit.

Friday, October 17, 2014

New Tires

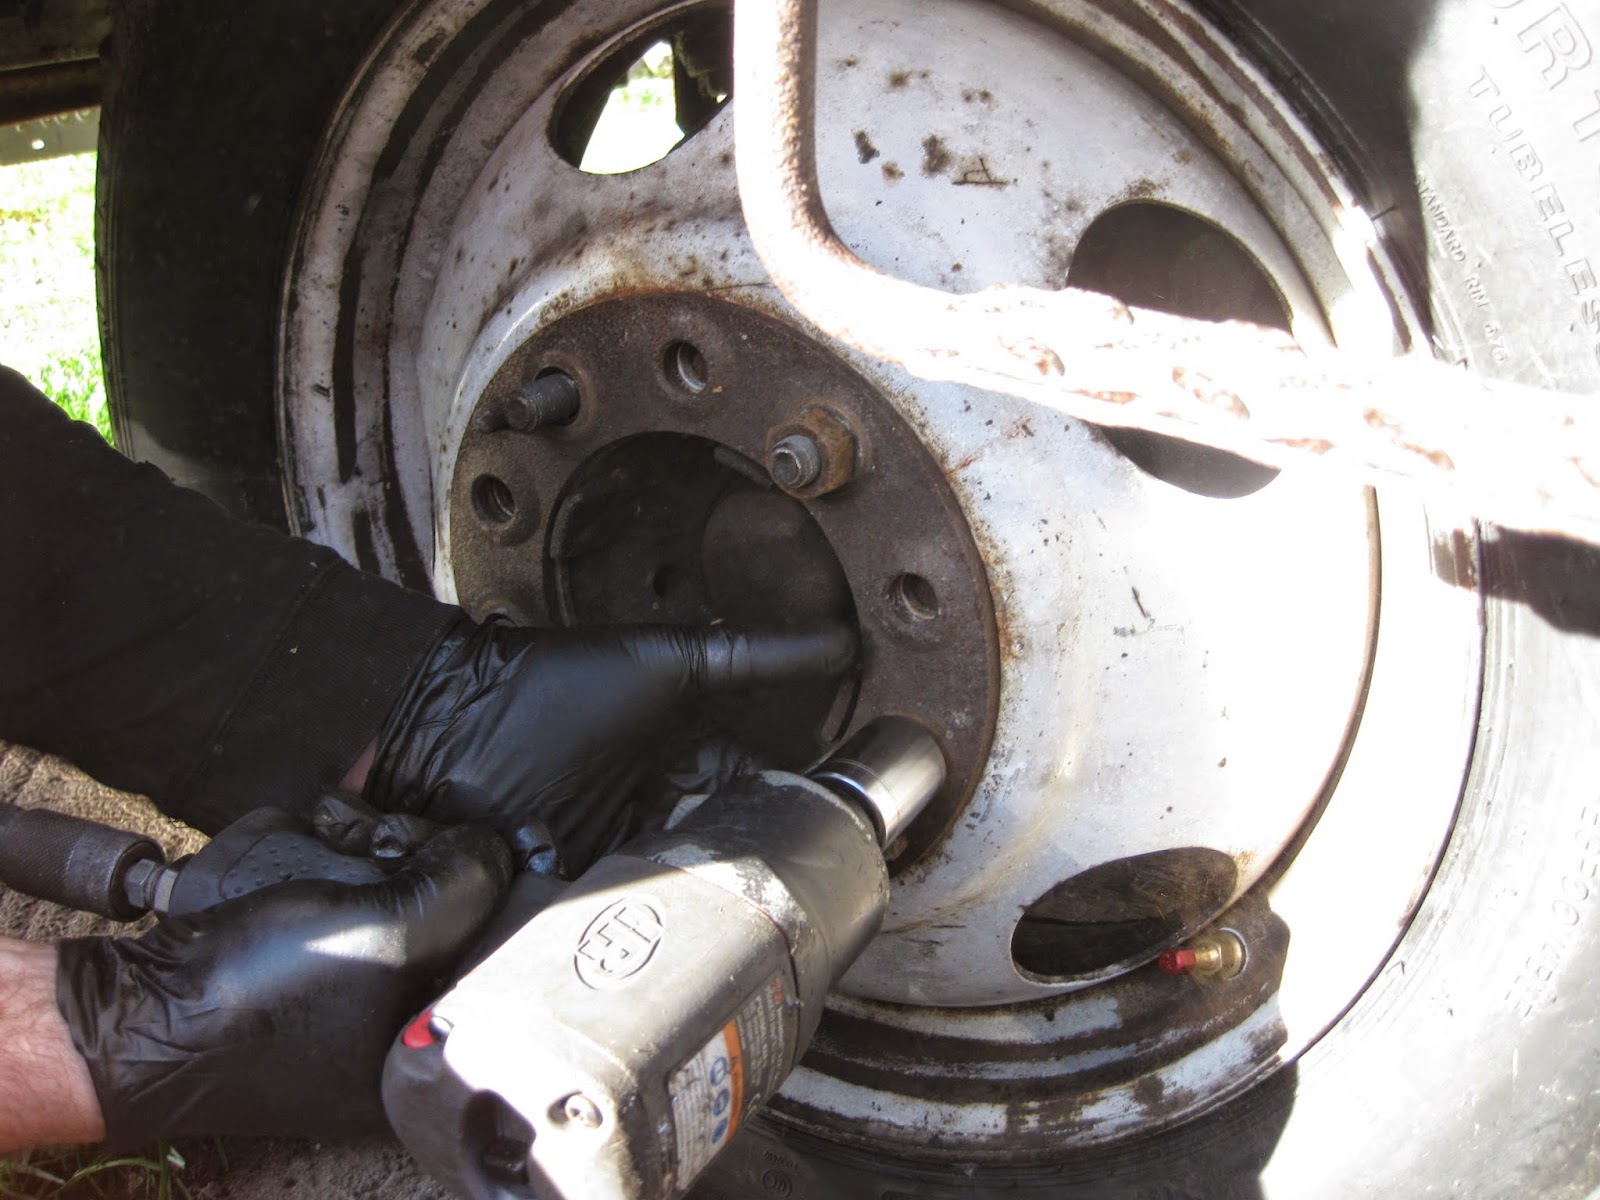
     This has been quite the busy evening in our RV life.  We are here working on a land surveying project, so we worked all day and this evening the fun began.  Chad actually went to pick up our new tires this afternoon.  Tires plural?  Yes, we ended up getting four new tires.  Well, we had our first tire blowout on the way here.  This incident reinforced the fact that we really needed to replace our spare tire.  And, then, Chad researched the two front tires and found out that they were from 1997.  So, we thought it was best to go ahead and replace them as well.  So, this evening Chad had to put the new tires on.  So, now we have a total of 4 brand new tires and 3 that we had previously purchased.

   Then, he also took a look at the brakes going to the floor.  (More about that later.)  And, it has been five days since we had hookups, so our water tank was empty.  And, our rinse & waste water tanks were full.  So, Chad filled the water tank and emptied the other tanks.

    Next, we moved to a new location.  Here we are boondocking or dry camping (without hookups).  When we got to the new location, we tried to light the hot water heater and realized that our propane tank was empty.  Our gauge shows that it is still full.  So, apparently, the gauge doesn't work.  It's a really good thing that we have an external tank!  Unfortunately, it is almost empty.  So, we will be in search of propane tomorrow.


Chad removing the tires


Monday, October 6, 2014

Roof leaks fixed....we hope

Today Chad went up on the roof & put Dap 08641 Clear Silicone Sealant 9.8-Ounce around a couple of spots on the roof where we think water is getting in.  (See previous post) We had a lot of rain this past Saturday & a lot of rain came in.  Hopefully, it's all fixed now.

Update - early this morning (10/7/14) we had rain. No rain came in through the cabinet. Success!

Our RV life is working out really well.

Monday, September 29, 2014

Refrigerator door fixed

Chad put glue behind the door latch which makes it stick out just a little, so now it holds & won't fly open going down the road.  Refrigerator door-flying-open problem fixed!  :-)

Saturday, September 27, 2014

Never a dull moment


Today we accomplished some more work.  Here is the new water valve being installed:


We also hooked up an external propane tank that we are now connected to.


Marshall Gas Controls 53700 Deluxe Extend-A-Stay Tap Kit

Also, installed some new door handles.

Here's our latest solution to the fridge door coming open.  It still can open a little bit, though, as you can see, so we are going to have to come up with a better ideal.  But, this will do for now.


Well, this is funny.  Look what happened to our water filter.


It melted!  The water intake is right above the furnace as you can see from this previous picture.  So, the water filter got too hot from the furnace.