Sunday, December 14, 2014

Dehumidifier

Back in September, we bought a mini dehumidifier.  But, we had to return it because it didn't really work well enough.  Since then, we have just been waiting to see if we really needed one or not.  But, when we got all the rain this week, it really started smelling musty in here.  So, we decided to go ahead and buy one.  I did a lot of research and all of the mini ones use Peltier Technology.  Chad is convinced it just doesn't work that well.  Plus, the reviews aren't that great either.  So, the smallest one we found of the conventional ones was a 30 pint model.  We found a spot for it where it won't be in our way.  And, after two hours of running it, there was already an inch of water in the bottom.  After three more hours, there was another inch of water in the bottom.

We put the dehumidifier in our entryway

This dehumidifier has a control pad where you can set the humidity level.  When we started up the dehumidifier, there was 50% humidity in the air.   After, running it for about 5 hours, the humidity in the air was down to 40%.  When we started, there was condensation on most of the windows, and water was literally dripping down the windshield in the front of the RV.  The next morning that condensation had stopped dripping.  And, the dehumidifier was half full.  When we returned home in the evening, it was half full again.  And, there was minimal condensation on the windshield.  We also opened up all the cabinets that had gotten wet inside from the roof leaking so they can air out and the dehumidifier can draw any remaining moisture out.  Just want to make sure we don't get any mold growing in here.


Saturday, December 13, 2014

Another LED light replacement in the RV

We have been really satisfied with the first LED light we ordered. We bought those before we moved in.  However, the double light fixture that this company makes have two switches to turn the light fixtures on.  That would just be aggravating.  So, we chose a different light fixture .  This one was more expensive.  But, we figured you get what you pay for, right?  Well....maybe.  Anyway, we bought two of them.  We put one over the kitchen sink and one in the bedroom.  When it arrived, Chad said he could tell it was a really good fixture. I had noticed that some of the reviews mentioned the light dimming over time.  But, that was a while ago.  So, I hoped that the company had fixed that problem by now.  Apparently, they haven't.  Less than a month later, the LED bulbs really began to go dim in the fixture installed in the bedroom. 

So, we chose to send that one back to Amazon .  And, we bought a new light fixture . This one was half the price because we bought it on sale.  And, it's a warmer white, which we do like better.

You can actually see how dim the first light got in these pictures.  Will keep ya'll "posted" on how it goes with the new light.  So far, so good...  

The light fixture that we installed in the kitchen is just starting to go dim on one side.  So, we will be sending that one back to Amazon too.

Previous light fixture


Our new light fixture
Click here to see how to install an RV light fixture.

Here's the new light...

Lumitronics Warm White Double LED RV Dome Light with On/Off Switch and Removeable Lenses. Perfect Replacement 12V Light for RVs, Motorhomes, Campers, 5th Wheels, Trailers


Friday, December 12, 2014

How to cook the perfect steak

Chad has perfected making steak.  It is important to select a good steak.  Look for plenty of marbling.  Typical good cuts are t-bone, delmonico, porterhouse, & ribeye.

His most favorite way to cook them is on a charcoal grill.  His 2nd favorite is to pan fry it.  He was inspired by this video by Gordon Ramsay.


Chad says the real secret is to season it a couple of hours beforehand with salt, pepper, and/or Montreal Steak Seasoning.  It also needs to be at room temperature.  The best part of this is the butter.  Usually our steaks are pretty thick, so Chad puts about a tablespoon of butter on the steak & places it in the oven on 350 degrees for 8-12 minutes depending on how pink you like your steak.  This step is after grilling or frying.

Wednesday, December 10, 2014

Temporary roof leak "fix"

Birds in the trees while it's snowing
To continue from yesterday's post, upon investigation, all of the cabinets in the front area of the RV were wet in some way.  So, there's a lot of water coming in from somewhere. 
There's really nothing we could do about it today to permanently fix it.  So, we put a tarp over the roof as a temporary fix.  It is snowing now.  We do love the snow - so pretty.


Tuesday, December 9, 2014

More leaks

Today we had very heavy rain.  So, when we got home to the RV we checked out the leak over the bed.  It is still leaking just like before.  Chad can't find any indication on the roof of where the water is coming in either.

We also confirmed that there is a definite leak in the back of the RV, along the window ledge.  We thought perhaps it was condensation during the last rain.  But, it's just way too much water for that.  It is dripping down from the window.  We will check into it.  We have towels down for that now too.

Towels along the ledge in our bedroom
 We also found another roof leak above one of the cabinets, very close to the first roof leak we found.  However, this is dripping down in front of the cabinet, not inside it.  So, it is a different leak.

Water Dripping

Leak is above this cabinet

Water drips down on the seat cushion in the dining area
We also found water inside another cabinet.  I can't even tell where that water leaked from, but it's probably connected to the leak over the driver's area because it is a cabinet right next to that area.  We will have to go through and check all the cabinets.

So, at this point you may be wondering how we are doing with all of these inconveniences.  We love our RV life in spite of the little challenges.  We knew that everything would not be perfect buying an older RV.  But, it is definitely our home now - we feel "at home".  And, the benefits far outweigh the inconveniences.  Plus, all of this is an adventure for us.  We are having fun.

We are supposed to get more rain & snow tomorrow, so we will see how that goes...

Monday, December 8, 2014

Roof Leak is back

We got slammed with so much rain Friday evening and continued all day Saturday.  And, unfortunately, the roof leak is back above the driver's area.  This time it was worse than the last time, it was dripping in at least two distinct spots.  We used towels to absorb all the water.  So, today Chad used white silicone again to try to seal up the leak. Unfortunately, he couldn't find any indication on the RV roof of any area that could be leaking.  So, he put white silicone along the whole seam in that area of the roof.


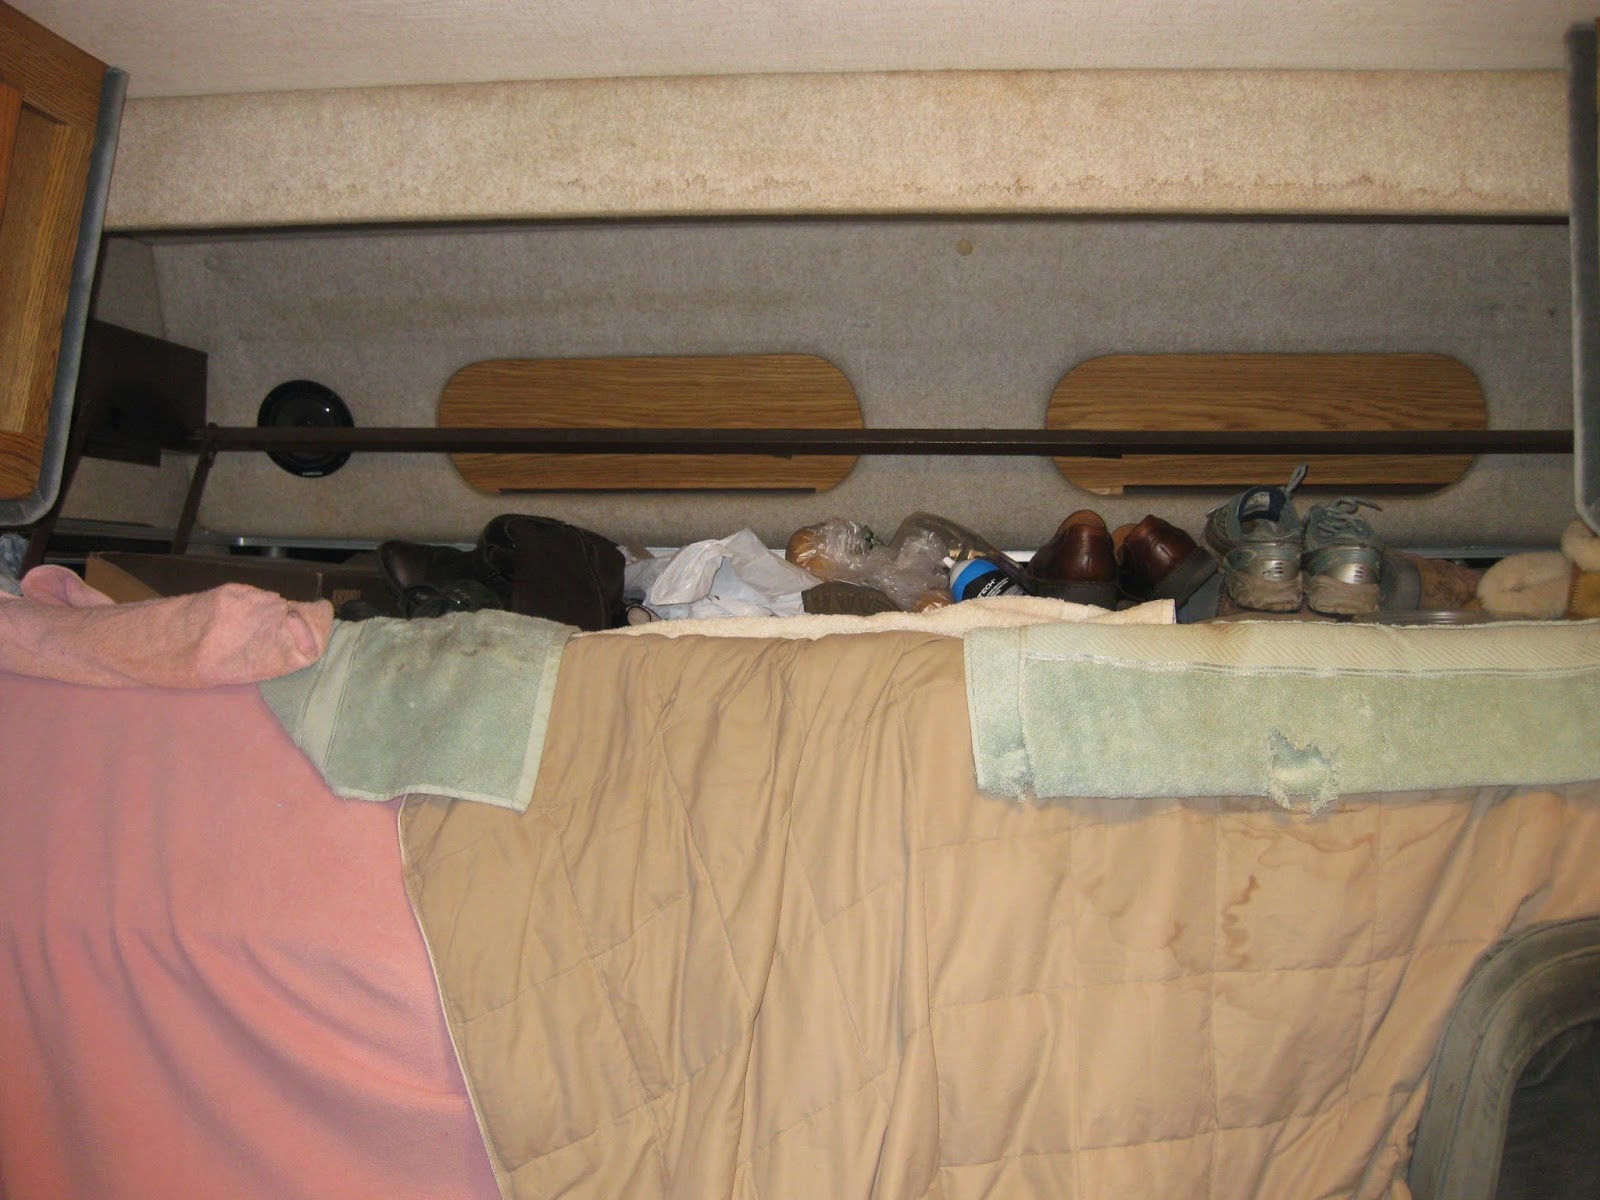
In the picture you can see the water spots the leak created.  The blankets are there because we created a blanket fort with them to create a weather seal to keep the cold out that pours in off the windows in the front of the RV.  (More about that later.)

By the way, the first roof leak we found is definitely not leaking.  So, that's good news.

Friday, December 5, 2014

Susy's “PICADILLO HABANERO” = GROUND BEEF “HAVANA” STYLE (Gluten Free)

   “PICADILLO HABANERO” = GROUND BEEF “HAVANA” STYLE (by Susy)

(All images are compliments of Susy)


This is a recipe contributed by our good friend Susy.  So happy to share one of her recipes - she is a very good cook.  And, this recipe is naturally gluten free.   :-)

Cuban food is savory and flavorful because the base of most dishes is SOFRITO, a sautée of
fresh onions, garlic, and red/green bell peppers complimented with dry oregano, paprika, cumin and bay leaves. Picadillo is a tomato sauce based ground beef dish that uses SOFRITO as a base of flavors with raisins and green olives for added depth. Those two additional ingredients add a sweet and salty element that elevates the dish to another level and is typical of Caribbean Cuisine.

Alternatives/Substitutions:
* Mix ground turkey or chicken with the beef.
* If sensitive to tomatoes/sauce acidity, add the juice of 1 lemon instead. It will still taste delicious!
* Instead of white rice, serve with brown rice, pasta, vegetables, polenta, yucca, malanga, or plantains.

Ingredients:
2 lbs ground beef
1 tbsp olive oil

Dry Spices:
1 tsp oregano
1 tsp paprika
½ tsp ground cumin
1 or 2 bay leaves (remove before serving)
1 tsp salt and pepper (to taste)

Sofrito:
1 large onion, chopped          

½ red pepper, chopped (or jar sweet red bell
pepper)
5-8 cloves of garlic, chopped
1 tomato diced (or 1 can chopped tomatoes)
1 cup or 1 small can tomato sauce
¾ cup red or dry white cooking wine
1 cup water (to help cook the potatoes)
2 medium potatoes, peeled, and diced small
(about ½” square)
½ cup pimento stuffed Spanish Manzanilla olives
1 tbsp capers (optional)
½ cup raisins (optional)

Final garnish:
½ cup fresh chopped
parsley

DIRECTIONS:

1. First step in preparing Picadillo is to brown
the beef. I prefer to season the meat with
the dry spices during this step. Don’t wait
and season the sauce after everything is
done. Add salt, oregano, paprika, cumin
and bay leaves to the meat prior to
browning. After the meat is browned, drain
most of the rendered fat, but leave enough
(about 1-2 tbsp) to sautée the Sofrito fresh
ingredients.

2. Add the Sofrito ingredients to the browned
beef (onion, peppers, garlic, tomatoes,
tomato sauce and cooking wine.) Let
simmer for a few minutes to reduce and
mellow out the tomato sauce.

3. Then add the rest of the ingredients
(except the fresh parsley) to the beef
mixture (water, potatoes, raisins, and olives along with some brine).  Simmer on low heat for about 20-25 minutes until the potatoes are cooked through and the sauce thickens.


4. Taste to see if salt/pepper is needed. Add the fresh parsley. Serve with white rice and plantain chips.


Bon Appétit!